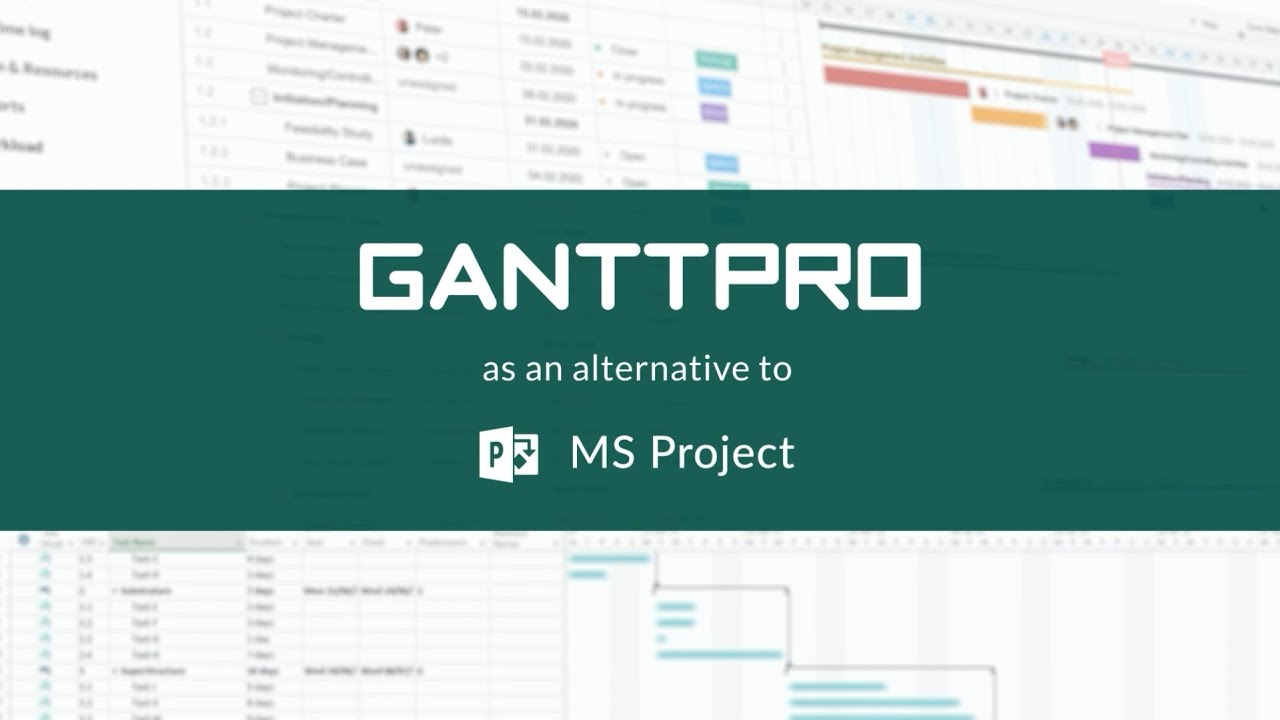
Creating a Project Schedule in Microsoft Project
Microsoft Project is a powerful project management software that provides a comprehensive solution for project managers. This software is designed to help project managers schedule, track, and control their projects effectively. Microsoft Project provides many features that help project managers create project schedules and track their progress. In this article, we will take a detailed look at how to create a project schedule in Microsoft Project.
Introduction to Gantt Charts
Gantt charts are commonly used to visualize and manage project schedules. This type of chart is a type of bar chart that displays the start and end dates of tasks, their duration, and the dependencies between tasks. Gantt charts help project managers to see the progress of their projects at a glance and make informed decisions.
Gantt charts have been around for over a hundred years and were first developed by Henry Gantt in the 1910s. Today, Gantt charts are widely used in project management and are considered an essential tool for any project manager. In this article, we will be using Microsoft Project to create a Gantt chart.
Setting up a New Project in Microsoft Project
To start creating a project schedule in Microsoft Project, you need to set up a new project. To do this, follow these steps:
- Open Microsoft Project.
- Click on the “File” menu and select “New.”
- Select “Blank Project” and click “Create.”
Once you have set up a new project, you are ready to start adding tasks to your project schedule.
Adding Tasks to Your Project Schedule
Adding tasks to your project schedule is an essential step in creating a project schedule in Microsoft Project. To add tasks, follow these steps:
- In the “Task” tab, click on the “Task” button.
- Enter the name of your task in the “Name” field.
- Enter the start date and end date of your task in the “Start” and “Finish” fields.
- Enter the duration of your task in the “Duration” field.
- Repeat steps 2-4 to add additional tasks to your project schedule.
Once you have added tasks to your project schedule, you can start linking tasks together to create task dependencies. Task dependencies are important because they determine the order in which tasks are completed.
Creating Task Dependencies
To create task dependencies in Microsoft Project, follow these steps:
- Select the task that you want to link to another task.
- Right-click on the selected task and select “Link Tasks.”
- Select the task that you want to link to the first task.
- Repeat steps 1-3 to create additional task dependencies.
Task dependencies are represented in the Gantt chart by arrows that connect one task to another. When a task is completed, it automatically triggers the start of the next task.
Assigning Resources to Tasks
In Microsoft Project, you can assign resources to tasks to help you keep track of the resources that are being used on your project. To assign resources to tasks, follow these steps:
- Select the task that you want to assign resources to.
- In the “Task” tab, click on the “Assign Resources” button.
- Select the resources that you wantto assign to the task.
- Click “OK.”
You can assign multiple resources to a single task, and you can also assign the same resource to multiple tasks. This is useful when you have limited resources and need to manage them effectively.
Tracking Progress and Updating Tasks
Once you have created your project schedule, it’s important to track progress and update tasks as necessary. To track progress in Microsoft Project, follow these steps:
- In the “Task” tab, click on the “Update Tasks” button.
- Enter the percentage of the task that has been completed.
- Repeat this process for each task in your project schedule.
Tracking progress in Microsoft Project allows you to see the progress of your project in real-time. This helps you make informed decisions and take corrective action when necessary.
Conclusion
In conclusion, Microsoft Project is a powerful project management software that provides a comprehensive solution for project managers. This software is designed to help project managers schedule, track, and control their projects effectively. By following the steps outlined in this article, you can create a project schedule in Microsoft Project and manage your projects effectively.
Whether you are a seasoned project manager or just starting out, Microsoft Project is a great tool to have in your toolbox. So, start creating your project schedules in Microsoft Project today and take your project management skills to the next level.

