Creating a Gantt Chart: Step-by-Step Guide
A Gantt chart is a graphical representation of a project schedule that visualizes the task dependencies, start dates, end dates, and duration of each task. This tool helps project managers to plan, track, and communicate the progress of a project. Whether you are a seasoned project manager or a beginner, you can easily create a Gantt chart by following these simple steps.
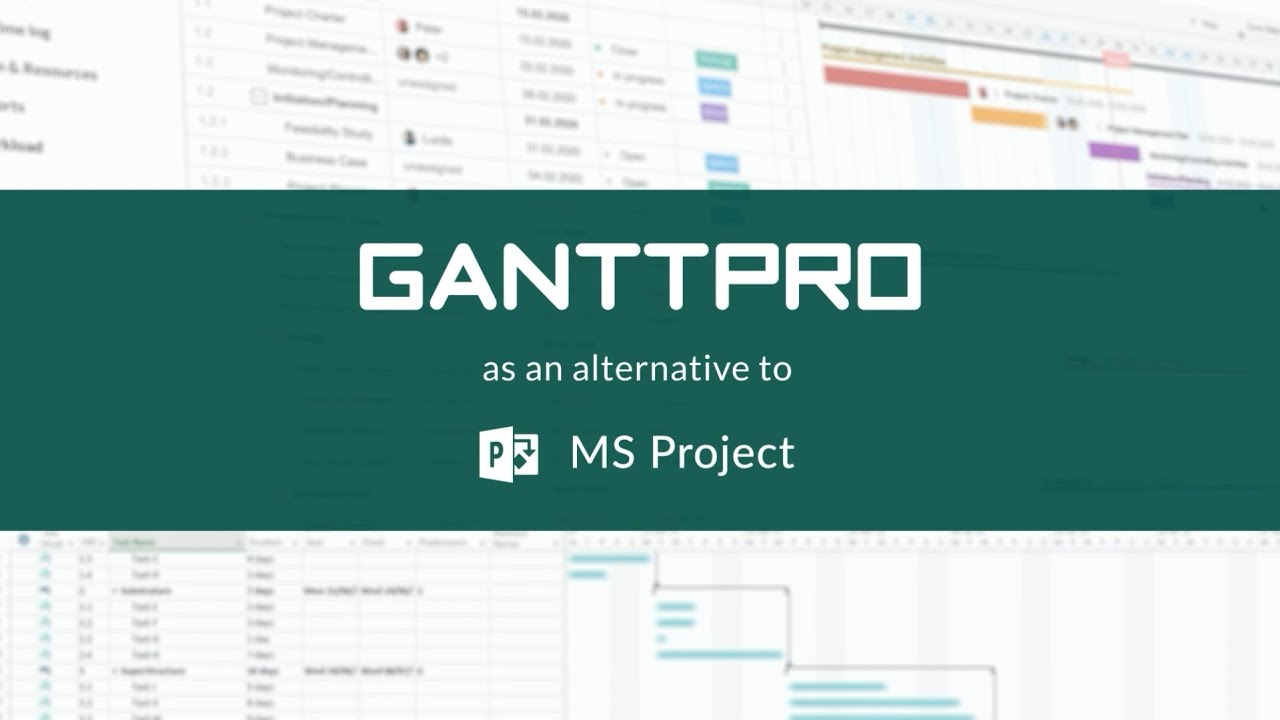
Choose a Gantt Chart Software
The first step in creating a Gantt chart is to choose the right software. There are many options available, including Microsoft Project, online Gantt chart tools like GanttPRO, and even simple spreadsheet software like Microsoft Excel or Google Sheets.
Each of these options has its own pros and cons, so it’s important to choose the one that best fits your project’s needs. Microsoft Project is a powerful and feature-rich tool, but it can also be complex and difficult to learn. On the other hand, online Gantt chart tools are often more user-friendly and affordable, but they may not have as many features as Microsoft Project.
“The best Gantt chart software is the one that meets your project’s needs.”
When choosing a software, consider the following factors:
- Features: What features do you need for your project, such as task dependencies, resource allocation, and progress tracking?
- Ease of use: Is the software user-friendly and easy to learn?
- Cost: How much are you willing to spend on Gantt chart software?
- Integration: Does the software integrate with other tools you use, such as project management software or your company’s database?
Define Your Project Tasks and Schedule
Once you’ve chosen your software, the next step is to define your project tasks and schedule. This involves breaking down your project into smaller, manageable tasks and determining the start and end dates for each task.
To create a task list, consider the following steps:
- Identify all the tasks involved in your project.
- Determine the order of the tasks and their dependencies.
- Estimate the duration of each task.
- Assign resources to each task, such as team members or equipment.
It’s important to keep your task list organized and up-to-date as your project progresses. This will help you track your project’s progress and make any necessary adjustments to your schedule.
“A well-defined task list is the foundation of a successful Gantt chart.”
When creating a schedule, consider the following steps:
- Determine the start date for each task.
- Estimate the end date for each task based on its duration and dependencies.
- Create a timeline that shows the start and end dates for each task.
Create Your Gantt Chart
Now that you have a task list and schedule, it’s time to create your Gantt chart. This involves inputting the task list and schedule into your chosen Gantt chart software and visualizing the data in the form of a chart.
To create a Gantt chart, consider the following steps:
- Open your Gantt chart software and create a new project.
- Input your task listand schedule into the software.
- Assign resources to each task and add any relevant notes or comments.
- Use the software’s tools to create a visual representation of the task list and schedule, including the start and end dates, duration, and dependencies of each task.
- Customize the appearance of the chart to your liking, such as changing the colors, font, or axis labels.
- Save the chart and share it with your team.
“A Gantt chart is a visual representation of your project schedule that helps you plan, track, and communicate the progress of your project.”
Some Gantt chart software may also offer additional features, such as resource allocation, progress tracking, and critical path analysis. Take advantage of these features to make the most of your Gantt chart.
Conclusion
In conclusion, creating a Gantt chart is a straightforward process that can greatly improve the efficiency and success of your project. By choosing the right software, defining your project tasks and schedule, and creating a visual representation of your data, you can effectively plan, track, and communicate the progress of your project.

Benjamin Dawes
Benjamin Dawes is a project manager from the United States who has worked for several organizations throughout his career. He grew up in the suburbs of Boston, Massachusetts and attended Northeastern University, where he earned his bachelor's degree in business administration. After graduation, Benjamin started his career in project management at a large financial services company in Boston. He quickly proved himself to be an effective leader and was promoted to project manager within a few years. Benjamin's strong organizational skills and ability to work with diverse teams made him a valuable asset to the company. From there, Benjamin went on to work for several other financial services companies, including Fidelity Investments and State Street Bank. He also worked as a project manager for a healthcare technology company, where he managed the development and launch of a new software product aimed at improving patient outcomes. Benjamin is known for his expertise in project management methodologies such as Waterfall and Agile, which he has successfully implemented on several projects. He is also a skilled communicator and is able to effectively manage stakeholders across multiple teams and departments.