Creating a Project Plan in Microsoft Project
Microsoft Project is a powerful tool for project management, and is a great tool for creating a project plan. It is an excellent choice for project managers, who need to create and manage projects, but it is also an excellent tool for anyone who is involved in the project planning process.
There are several key steps to creating a project plan in Microsoft Project, including defining your project’s scope, defining the project schedule, and determining the resources that will be required for the project. Once these steps have been completed, you can then use Microsoft Project to develop your project plan.
Step 1: Define the Project Scope
The first step in creating a project plan in Microsoft Project is to define the project scope. This involves identifying the goals and objectives of your project, as well as the specific deliverables that will be produced as part of the project.
It is also important to determine the scope of your project in terms of its size and complexity, as well as the amount of time and resources that will be required to complete the project. This information will be used to help you create a realistic project plan and will be important for determining the resources that will be required for the project.
Step 2: Define the Project Schedule
The next step in creating a project plan in Microsoft Project is to define the project schedule. This involves determining the start and end dates for your project, as well as the milestones that need to be achieved along the way.
In addition to determining the project schedule, it is also important to identify the dependencies between tasks, as well as the resources that will be required for each task. This information can be used to create a Gantt chart, which is a visual representation of your project schedule.
A Gantt chart is a powerful tool for project management, as it provides a clear and concise overview of your project schedule. It allows you to see the start and end dates for each task, as well as the dependencies between tasks, which is critical for effective project planning.
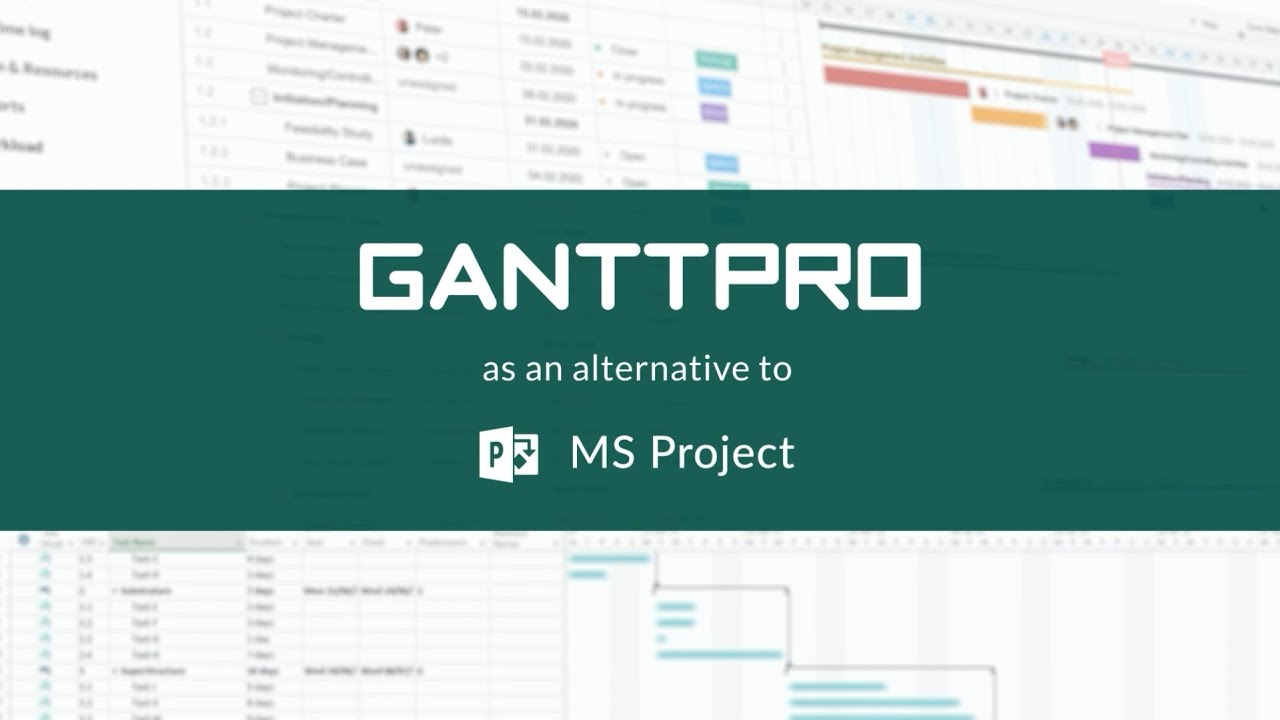
There are many tools available for creating a Gantt chart, including Microsoft Project, GanttPRO, and online Gantt chart software. These tools provide a range of features and functionalities, and it is important to choose the one that best meets your needs and budget.
Step 3: Determine the Resources
The final step in creating a project plan in Microsoft Project is to determine the resources that will be required for the project. This includes identifying the people, equipment, and other resources that will be needed to complete the project.
It is also important to determine the cost of each resource, as well as the amount of time that each resource will be required for. This information can be used to create a budget for your project, which will be critical for ensuring that your project stays on track and within budget.
In conclusion, creating a project plan in Microsoft Project is a straightforward process that involves defining the project scope, defining the project schedule, and determining the resources that will be required for the project. By using these three steps, you can create a comprehensive and effective project plan that will help ensure the success of your project.

Lucas Pinto Cardoso
Lucas Pinto Cardoso is a project manager from the United States who has worked for several organizations throughout his career. He was born and raised in Boston, Massachusetts, and attended Harvard University, where he earned his bachelor's degree in business administration. After graduation, Lucas started his career as a management consultant at a top consulting firm in Boston, where he worked with clients in various industries to optimize their business processes and improve their bottom line. He quickly proved himself to be a valuable member of the team and was soon promoted to project manager. Lucas's expertise in project management methodologies such as Six Sigma and Lean helped him to successfully manage complex projects for his clients. He also developed a reputation for his ability to effectively communicate with stakeholders and manage cross-functional teams. From there, Lucas went on to work for several other consulting firms, including Deloitte and McKinsey & Company. He also worked as a project manager for a healthcare startup, where he managed the development and launch of a new healthcare app that aimed to improve patient outcomes. Lucas is known for his analytical skills, attention to detail, and ability to see the big picture. He is a strategic thinker who is able to identify opportunities for his clients to improve their operations and drive growth. His ability to manage projects from start to finish has made him a highly sought-after project manager in the consulting industry.