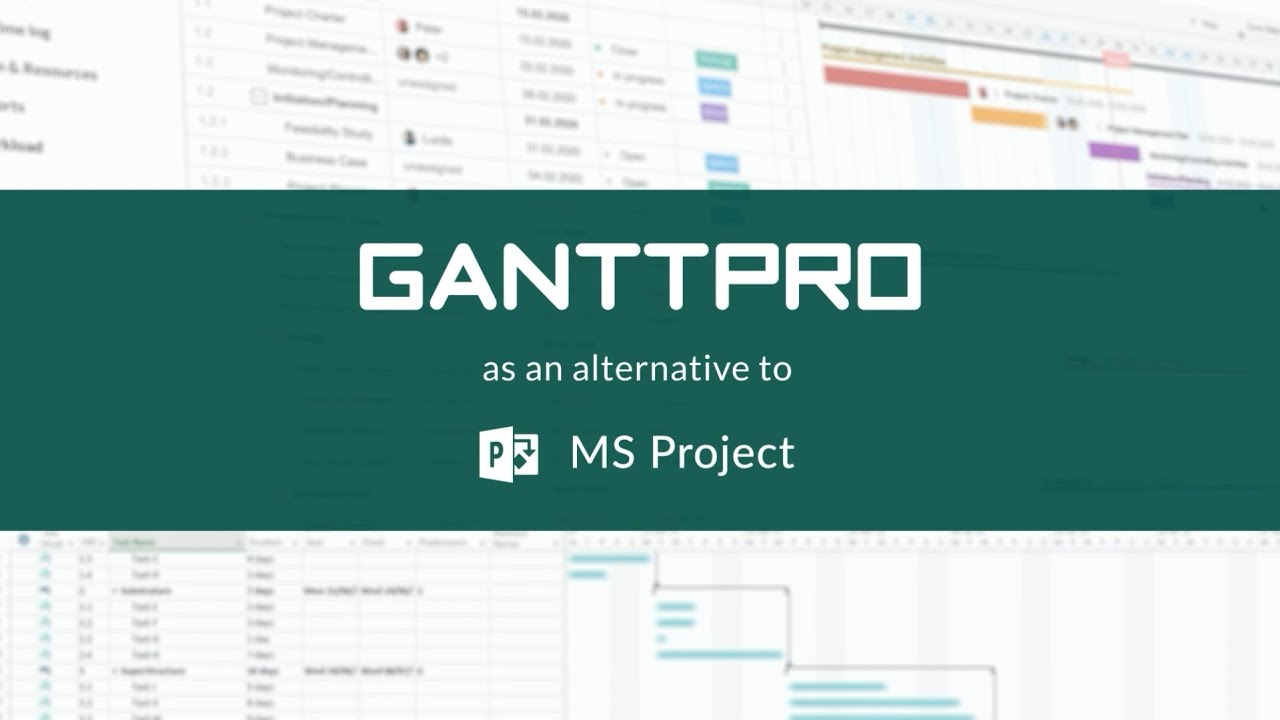
The Ability to Manage Resources and Costs with Microsoft Project
Microsoft Project is a powerful project management software that enables businesses and organizations to effectively plan, execute and track projects. One of its key strengths is the ability to manage resources and costs, which is critical to the success of any project. With Microsoft Project, managers can accurately allocate resources, set budgets, and monitor project expenses in real-time.
This article will explore the various features and tools within Microsoft Project that help you manage resources and costs, including the Gantt chart, the Resource Sheet, and the Resource Usage view. We’ll also cover some tips and best practices for using these tools to achieve optimal results.
The Gantt Chart
The Gantt chart is a visual representation of a project’s timeline, showing the start and end dates of each task, as well as the dependencies between them. In Microsoft Project, the Gantt chart is a powerful tool that provides a high-level view of a project’s progress and helps managers understand the allocation of resources and costs.
One of the key benefits of the Gantt chart is that it makes it easy to see the impact of resource constraints on the project timeline. For example, if a resource is over-allocated, the Gantt chart will display this as a red line, indicating that the resource is overburdened and may need to be reallocated.
Another useful feature of the Gantt chart is the ability to add custom columns, such as Cost or Budget, to show project expenses. This can be done by right-clicking on the Gantt chart and selecting “Insert Column”. By tracking project costs within the Gantt chart, managers can easily see the impact of changes to the project timeline on the budget.
The Resource Sheet
The Resource Sheet is another important tool within Microsoft Project that is used to manage resources and costs. The Resource Sheet provides a detailed view of each resource in the project, including their availability, skills, and cost rate.
One of the benefits of the Resource Sheet is that it makes it easy to see which resources are over-allocated or under-allocated, which can help managers make informed decisions about resource allocation. For example, if a resource is over-allocated, the manager may choose to allocate additional resources to the task or reschedule the task to a later date.
Another useful feature of the Resource Sheet is the ability to set up cost rates for each resource. This can be done by entering the cost rate in the “Standard Rate” column. By setting up cost rates, Microsoft Project can automatically calculate the total cost of each task based on the resource allocation and duration.
The Resource Usage View
The Resource Usage view provides a detailed view of the resources assigned to each task, as well as their availability and allocation. This view is particularly useful for identifying resource conflicts and over-allocations, as it provides a timeline-based view of resource allocation.
One of the key benefits of the Resource Usage view is that it makes it easy to see which resources are over-allocated and when, which can help managers make informed decisions about resource allocation. For example, if a resource is over-allocated at a specific time, the manager may choose to allocate additional resources to the task or reschedule the task to a later date.
Another useful feature of the Resource Usage view is the ability to see the cost of each task. By tracking project costs withinthe Resource Usage view, managers can easily see the impact of changes to resource allocation on the budget. This can be particularly helpful for identifying areas where costs may be exceeding the budget, allowing managers to take proactive measures to stay within budget constraints.
Tips and Best Practices for Managing Resources and Costs with Microsoft Project
Define project resources and costs early on: It’s important to define project resources and costs as early as possible to ensure accurate resource allocation and budget tracking. This can be done using the Resource Sheet and by setting up cost rates for each resource.
Regularly review resource allocation: Regularly reviewing resource allocation and making necessary adjustments can help ensure that resources are being used effectively and that the project stays within budget constraints.
Use the Resource Usage view to identify resource conflicts: The Resource Usage view can be a powerful tool for identifying resource conflicts and over-allocations. By regularly reviewing this view, managers can take proactive measures to resolve conflicts and ensure that resources are being used effectively.
Utilize the Gantt chart to track project progress: The Gantt chart can be a valuable tool for tracking project progress, especially when it comes to managing resources and costs. By regularly reviewing the Gantt chart, managers can see the impact of resource constraints on the project timeline and make necessary adjustments to stay within budget constraints.
Collaborate with team members: Collaborating with team members can help ensure that everyone is on the same page when it comes to resource allocation and budget tracking. This can be done through regular team meetings or by using online Gantt chart tools like GanttPRO.
In conclusion, Microsoft Project is a powerful tool for managing resources and costs. With its Gantt chart, Resource Sheet, and Resource Usage view, managers can accurately allocate resources, set budgets, and monitor project expenses in real-time. By following the tips and best practices outlined in this article, managers can achieve optimal results and ensure the success of their projects.

