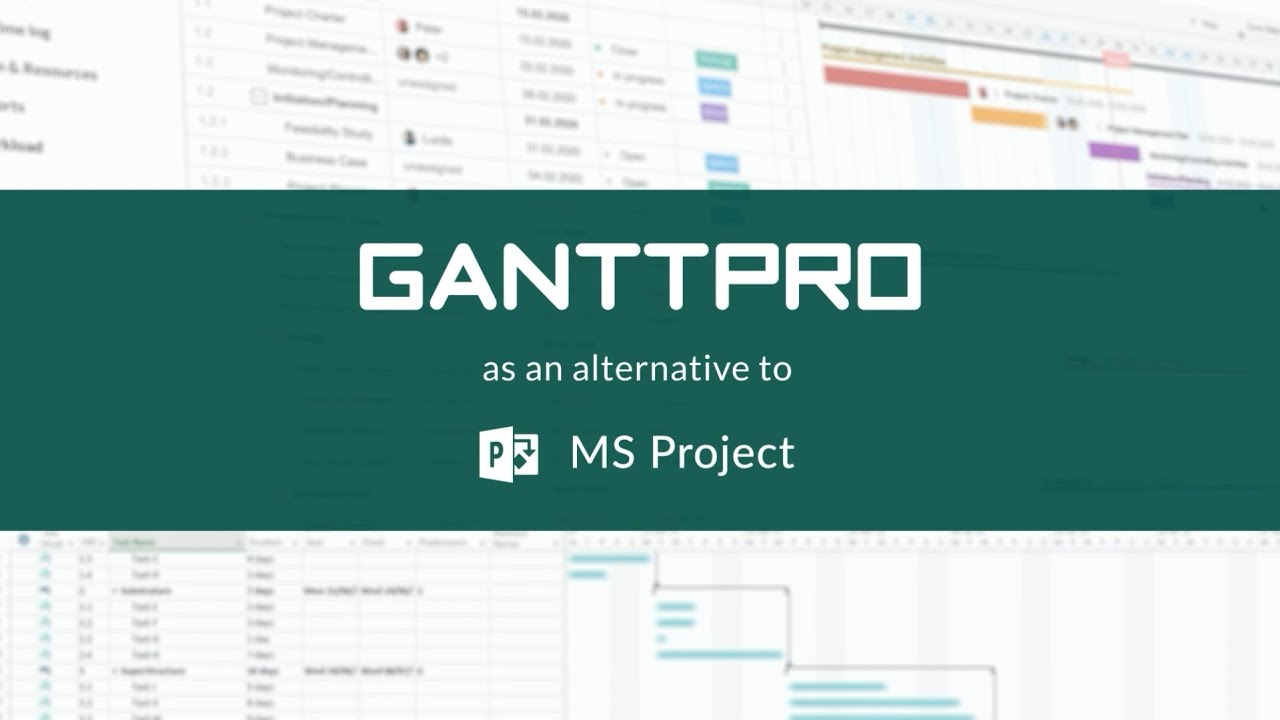
Gantt Chart Tutorial for Beginners
A Gantt chart is a graphical representation of a project’s schedule and its individual tasks. It is a bar chart that shows the start and end dates of each task, as well as the relationships between tasks. This makes it a useful tool for project management, as it helps project managers to keep track of progress and ensure that everything is on schedule.
In this tutorial, we will cover the basics of Gantt charts and how to create one for your project. Whether you are new to project management or an experienced professional, this tutorial will help you understand the benefits of using a Gantt chart and how to create one for your project.
Understanding the Basics of a Gantt Chart
A Gantt chart is a bar chart that represents the start and end dates of tasks within a project. The horizontal axis of the chart represents time, while the vertical axis represents the tasks. Each task is represented by a bar that spans the duration of the task and is positioned according to its start and end dates.
Tasks that are dependent on one another are linked by arrows that show the relationships between tasks. This makes it easy to see which tasks must be completed before others can start, and which tasks can be worked on at the same time.
One of the key benefits of using a Gantt chart is that it provides a visual representation of the project’s schedule. This makes it easier to understand the relationships between tasks and the overall timeline of the project. This is particularly useful for project managers, as it allows them to quickly identify potential bottlenecks or delays, and make adjustments as needed to ensure that the project stays on track.
Creating a Gantt Chart
There are several ways to create a Gantt chart. You can use software such as Microsoft Project, or you can use a specialized Gantt chart software such as GanttPRO. You can also create a Gantt chart using a spreadsheet program such as Microsoft Excel.
Regardless of the method you choose, the process of creating a Gantt chart involves the following steps:
- Define the tasks: Start by defining all of the tasks that are required to complete the project.
- Determine the duration of each task: Estimate how long each task will take to complete.
- Identify dependencies: Determine which tasks are dependent on one another and how they are related.
- Create the chart: Use the software of your choice to create the Gantt chart, using the information you have gathered about the tasks and their relationships.
Creating a Gantt Chart in Microsoft Project
Microsoft Project is a powerful project management software that includes a built-in Gantt chart tool. If you have access to Microsoft Project, you can use it to create a Gantt chart for your project.
Here are the steps for creating a Gantt chart in Microsoft Project:
- Start a new project: Open Microsoft Project and start a new project by clicking on the “File” menu and selecting “New.”
- Define tasks: Enter all of the tasks that are required to complete the project.
- Determine duration: Estimate the duration of each task.
- Identify dependencies: Identify which tasks are dependent on one another.
- Create the chart: Click on the “Gantt Chart” view to create the chart. The chart will automatically update as you make changes to the task list, duration estimates, or dependencies.
Creating a Gantt Chart in GanttPRO
GanttPRO is a specialized Gantt chart software that makes it easy to create and manage Gantt charts for your projects. With GanttPRO, you can create a Gantt chart in a matter of minutes, without the need for any specialized training.
Here are the steps for creating a Gantt chart in GanttPRO:
- Start a new project: Log in to GanttPRO and start a new project by clicking on the “New Project” button.
- Define tasks: Enter all of the tasks that are required to complete the project.
- Determine duration: Estimate the duration of each task.
- Identify dependencies: Identify which tasks are dependent on one another.
- Create the chart: The chart will be created automatically as you add tasks to the project. You can adjust the appearance of the chart as needed by using the formatting tools provided by GanttPRO.
Creating a Gantt Chart in Microsoft Excel
If you prefer to use a spreadsheet program, you can create a Gantt chart in Microsoft Excel. While this approach is not as automated as using specialized software such as Microsoft Project or GanttPRO, it is still a useful option for those who prefer to work with spreadsheets.
Here are the steps for creating a Gantt chart in Microsoft Excel:
- Start a new workbook: Open Microsoft Excel and start a new workbook.
- Define tasks: Enter all of the tasks that are required to complete the project in the first column of the spreadsheet.
- Determine duration: Estimate the duration of each task and enter it in the second column of the spreadsheet.
- Identify dependencies: Identify which tasks are dependent on one another and enter this information in the third column of the spreadsheet.
- Create the chart: Use the charting tools in Microsoft Excel to create the Gantt chart, using the task, duration, and dependency information you have entered in the spreadsheet.
Conclusion
In conclusion, a Gantt chart is a powerful tool for project management that provides a visual representation of a project’s schedule and its individual tasks. Whether you use specialized software such as Microsoft Project or GanttPRO, or a spreadsheet program such as Microsoft Excel, creating a Gantt chart is a straightforward process that can help you manage your projects more effectively. By understanding the basics of a Gantt chart and how to create one, you can take your project management skills to the next level.

